
Groups are arbitrary collections of People and Businesses.
To View the groups you or your colleagues have defined, go to Contacts>Groups on the menu. You will see a screen similar to the following:
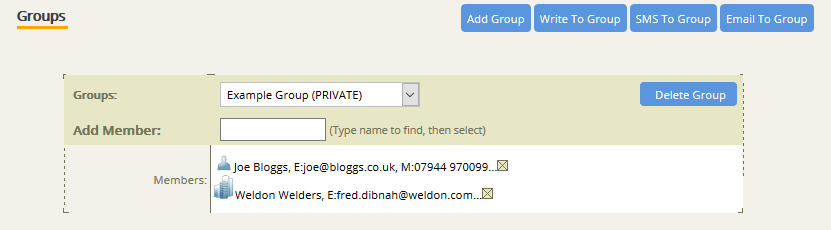
In this example, we have a small group called Example group defined.
Several options can be performed on groups:
Add a group:
Click “Add Group”, then complete the dialog box shown here:
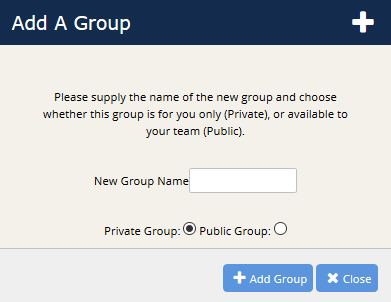
Click the “Public Group” check to make this group available to others in your team.
Delete a Group:
Select a group from the drop-down list of the groups and click “Delete Group”.
Add a person or business:
Type part of a person or businesses name and select from the drop-down box. The person or business selected will be added to the groups.
Remove a member:
Click the X next to the person or business in the list of members.
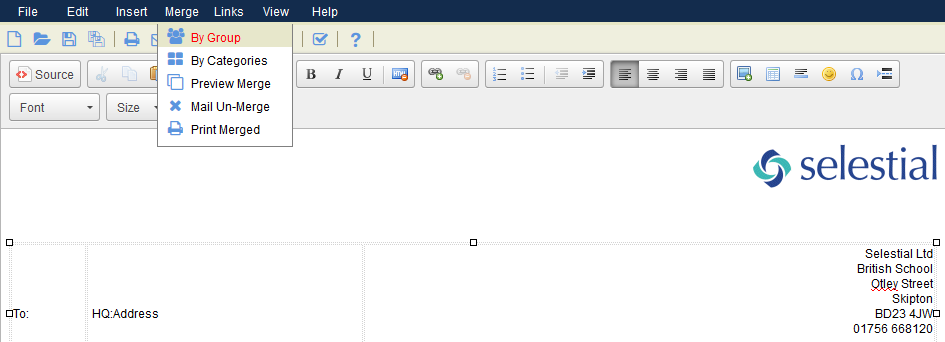
Write to a group:
Select a group from the drop-down list of groups and click “Write to Group”. This will start the document editor and you will need to select a document template. Here’s an example of a basic letter template. You’ll notice that the “Merge” menu has the “By Group” item pre-selected and as soon as I click “Preview Merge” then a preview document containing the first five members of the group are shown (with all HQ:Tags replaced by relevant information). Clicking “Print” will print all the letters for the group.
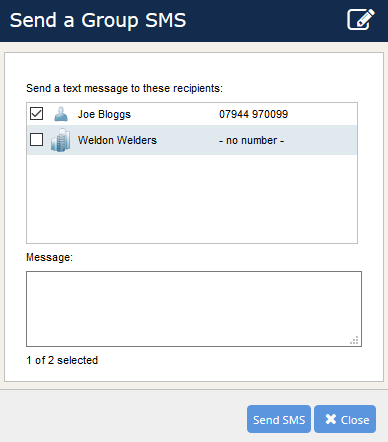
SMS to group:
Select a group from the drop-down list of groups and click “SMS to Group”. A dialog box similar to the one below appears:
Email to group:
Select a group from the drop-down list of groups and click “Email to Group”. The email composer window opens and the email address of every member of the group (for whom an email address exists) will be entered into the BCC field. You can then continue to compose and send your email as normal.